Home is where we find peace and safety. But what if the lock on your door fails? This situation calls for quick action. Before you call a professional, consider the benefits of doing it yourself.
This guide will teach you how to replace a lock cylinder. You’ll go from a beginner to a skilled homeowner. You’ll learn to fix locks on your own.
Knowing how to replace a lock cylinder is key to home security. It helps you save money and learn a new skill. This DIY lock repair tutorial will help you keep your home safe.

How To Replace Lock Cylinder
Understanding the Basics of a Lock Cylinder
Lock cylinders are key parts of home security systems. They play a big role in how locks work on doors in your home. This section will tell you what a lock cylinder is, the different types, and when you might need a new one. Knowing these tips can make your home safer and make changing lock cylinders easier.
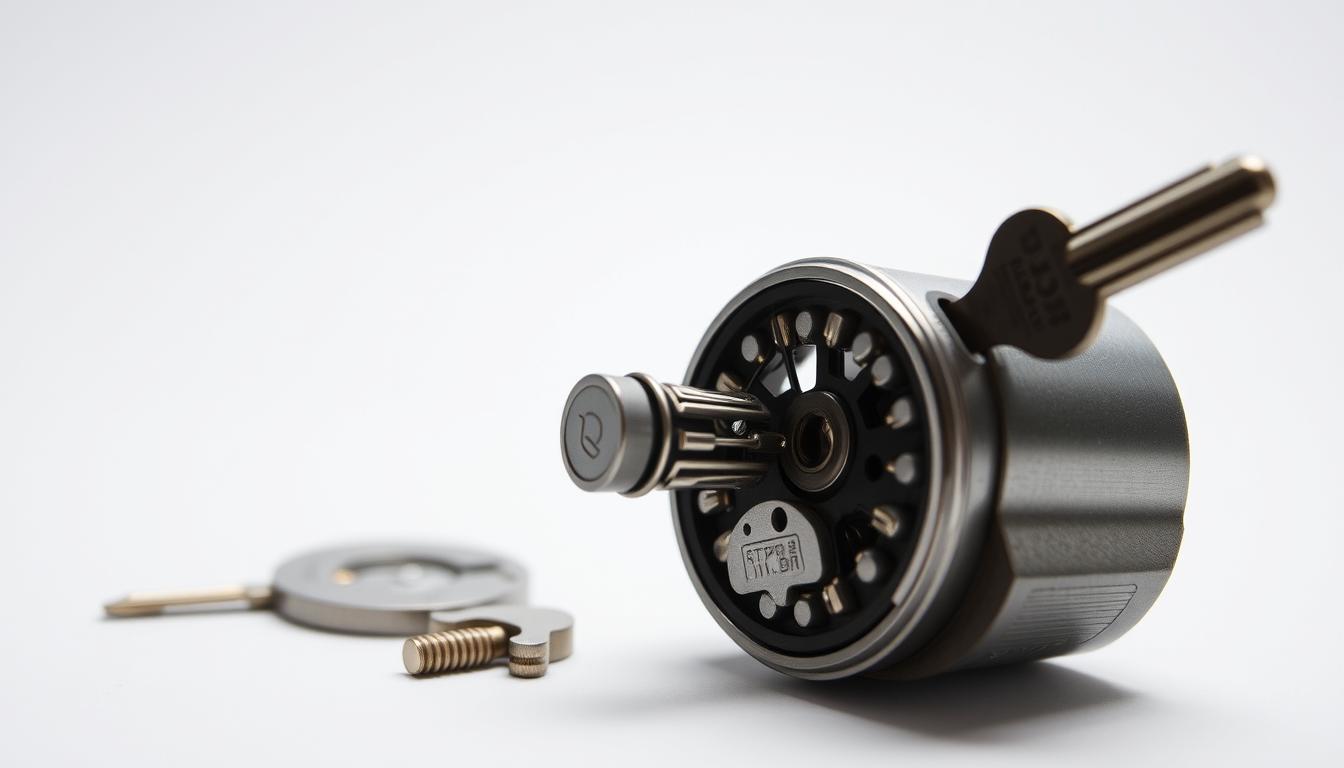
What Is a Lock Cylinder?
A lock cylinder is the main part that lets you lock and unlock a door with a key. It’s the heart of a door lock. It has special settings that only your key can unlock. Knowing how it works helps you see how changing it can make your home safer.
Types of Lock Cylinders
There are many types of lock cylinders to fit different security needs and door types. The most common is the pin tumbler lock, good for homes. Then there are disc tumbler locks, which are better at keeping out intruders. Knowing about these can help you pick the right one for your home.
Signs You Need a Lock Cylinder Replacement
Knowing when to replace your lock cylinder is important for security. Look out for signs like hard key turning, needing to jiggle the key, or seeing damage on the lock. If you see these, your lock might be weak and your security at risk. Using these tips can help you replace your lock on time and keep your home safe.
changing lock cylinder process
Tools and Materials Needed for DIY Lock Cylinder Replacement
To replace a lock cylinder in your home in Singapore, you’ll need specific tools and materials. This list is designed to make the process easy and safe. Quality tools are key to a successful DIY project.
First, you’ll need a screwdriver set with flat-head and Phillips-head sizes. These are essential for taking apart the door handle and lock. You might also need Allen wrenches, depending on your door’s lock type.
| Tool/Material | Use | Optional Alternatives |
| Screwdriver Set | For removing and fixing screws on the lock and handle | Powered Screwdriver |
| Allen Wrenches | For hexagonal screw heads often found in door mechanisms | Hex Key Set |
| Lock Cylinder | Replacement unit | Consult with home service Singapore for best options |
| Lock Lubricant | Ensures smooth operation of the lock post-installation | Graphite Powder |
Measuring tools like calipers or rulers are also crucial. They help ensure the new lock fits perfectly. For tool availability, check with home service Singapore providers. They may offer tools for rent or purchase.
Before starting, make sure the new lock fits your door. With the right tools and measurements, you’re ready to begin. This ensures a smooth and safe replacement process.
How To Replace Lock Cylinder
Replacing your lock cylinder can make your home much safer. This guide will help you replace your lock on your own. It’s perfect for your first DIY lock repair. You might want to upgrade your lock for better security or fix a broken one. Follow these steps to do it right.
First, find out what type of lock cylinder your door has. You might have a Euro cylinder, American cylinder, or mortise cylinder lock. Knowing this helps make sure the new lock fits your door’s mechanism.
| Step | Action | Detail |
| 1 | Remove Screw | Find and remove the set screw on the lock face or under the latch plate. |
| 2 | Insert Key | Put your key in the lock and turn it a bit to line up the cylinder. |
| 3 | Withdraw Cylinder | Pull out the cylinder from the door carefully, keeping the key in the same spot. |
| 4 | Insert New Cylinder | Put the new cylinder’s tailpiece into the lock and push it into the door. |
| 5 | Secure Cylinder | Put the set screw back and check if the key turns smoothly. |
By following these simple steps, you can swap out your lock cylinder easily. This will not only make your home more secure but also teach you how to fix locks in the future. Make sure to handle the lock gently to keep your door’s mechanism working well.
Preparation Steps Before Starting the Replacement
Starting a DIY lock repair needs careful planning and attention to detail. Before you replace a lock cylinder, make sure your workspace is safe and organized. Experts in home service in Singapore say this step is key for a smooth and safe replacement.
Ensuring Safety and Security
Safety is the top priority when working on locks. First, turn off any power sources for electronic locks to avoid electrical risks. Make sure the area is bright to avoid missing important details. Wear gloves to protect your hands from sharp tools and metal edges.
Gathering the Right Tools
Having the right tools is crucial for a successful lock repair. You’ll need a screwdriver set, needle-nose pliers, a hammer, and a lock cylinder removal tool. Arrange your tools on a clean surface in the order you’ll use them. Check your tools to make sure you have everything you need.
Preparing your workspace and gathering tools helps keep the process smooth and safe. By following these steps, anyone in home service Singapore can confidently replace a lock. It turns a tough task into something manageable.
Removing the Old Lock Cylinder
When it’s time to update or repair your lock mechanism, the first step is to carefully remove the existing lock cylinder. Below is a detailed look at the removal process. It’s designed to help homeowners and handyman services efficiently handle this task without causing any damage to the door structure. Follow this lock cylinder replacement guide closely to avoid common pitfalls.
Accurate removal of the old lock cylinder is crucial for the subsequent installation of the new one. Ensuring that each step is followed meticulously will decrease the likelihood of complications and the need for more extensive repairs.
| Step | Action | Tools Required |
| 1 | Ensure the door is unlocked | None |
| 2 | Remove the screw from the edge of the door that holds the cylinder in place | Screwdriver |
| 3 | Turn the key slightly to align the cam of the lock with the body, and carefully slide out the cylinder | Key for the lock |
| 4 | If resistance is encountered, recheck alignment and retry | Key and flashlight (if poorly lit) |
This table serves as a valuable resource in your DIY handyman services toolkit. It provides clear instructions for each stage of the lock cylinder removal process. Remember, patience and attention to detail during this phase can save significant time and effort in fixing any potential mishaps.
Installing the New Lock Cylinder
After removing the old lock cylinder, it’s time to put in the new one. This step is key for better security and door function. You need to align and secure the new lock cylinder well. We’ll guide you through this process to ensure a smooth fit with your door.
Aligning the Lock Correctly
Start by putting the cylinder into the lock housing. Align the tailpiece with the actuator in the door lock. This is crucial for the lock to work right. Make sure the key fits smoothly without any trouble.
Wrong alignment can cause problems with locking and unlocking. This is a common issue in many DIY guides.
Securing the New Cylinder in Place
After aligning, secure the lock cylinder firmly. Use the retaining screw provided or from the old cylinder. Tighten it well but avoid overdoing it to prevent damage.
A good fix ensures smooth operation with the locking mechanism.
Follow these steps carefully for a successful installation. Here’s a simple illustration to help you through each step:
By following these instructions, you’ll install your new lock cylinder correctly. This will boost your home’s security. Remember, taking your time will prevent future lock problems.
Finalizing the Installation and Testing the New Lock
Now that you’ve almost finished your DIY lock cylinder replacement, the next steps are key. You need to put everything back together right and test the lock. This will show if your work was successful.
Start by putting the door hardware back together. Put in the faceplate, trim, and handles. Make sure to follow the steps you took apart in reverse order. This way, everything will fit right.
Don’t over-tighten screws. It can damage the threads. And don’t make them too loose, or the hardware won’t work right.
Once the hardware is back, test the lock. Put in your new key and try locking and unlocking it a few times. It should move smoothly without any trouble. The lock should work as it should, and the handle should move smoothly with it.
Test the lock from both sides to make sure it works everywhere. This makes sure your lock cylinder replacement is solid. You should feel proud of your work and the security you’ve added to your door.
Maintenance Tips for Your New Lock Cylinder
Keeping your new lock cylinder in top shape requires regular care and sometimes, the help of a handyman. Here are some key tips to keep your lock running smoothly. We’ll also talk about when it’s best to call a professional for home service in Singapore.
Regular Cleaning and Lubrication
Preventing your lock cylinder from getting stiff or clogged is key. Regular cleaning and lubrication are essential. Use a mild, non-corrosive cleaner to clean the exterior of the cylinder. Avoid harsh chemicals that can harm the lock’s finish.
For lubrication, use a product made for locks. This ensures smooth operation without attracting dirt. Below is a suggested cleaning and lubrication schedule:
| Interval | Cleaning | Lubrication |
| Monthly | Wipe with damp cloth | Apply graphite lubricant |
| Annually | Detailed cleaning | Disassemble and lubricate all moving parts |
When to Call a Professional
While you can handle most upkeep yourself, some issues need a pro. If your lock cylinder is hard to use even after cleaning and lubrication, it’s time to call a handyman. Also, if you see signs of tampering or damage, seek professional help.
Professionals can spot and fix problems you might miss. They have the tools and know-how to keep your lock secure.
In summary, looking after your lock cylinder is about more than just keeping it working. It’s about keeping your home safe. For tricky or ongoing problems, getting help from a handyman service in Singapore is a smart move. It ensures your home stays secure and easy to access.
Professional Lock Replacement Services in Singapore
While DIY efforts are commendable, professional installation offers unmatched assurance. When your home’s security is at risk, trust experts like PS Handyman Singapore. They are a top choice for handyman services in Singapore, known for their expertise in lock replacements.
Hiring a professional handyman service like PS Handyman Singapore brings more than just installation. It also means peace of mind with a service guarantee and years of experience. This is crucial for your home’s security.
Choosing PS Handyman Singapore means getting access to a wide range of lock types and brands. They offer advice on the best locks for your home’s security needs. Their knowledge is essential in Singapore’s unique environment.
PS Handyman Singapore ensures your lock is installed correctly and efficiently. This avoids the damage that DIY attempts can cause. Their services help extend your lock’s lifespan, making professional installation valuable.
If you’re hesitant to replace locks yourself, or your schedule is too busy, get a free quote from PS Handyman Singapore. Their team is ready to provide timely and effective service. Trust PS Handyman Singapore for strong, reliable lock replacement services and keep your home safe.